How to Winterize a Lawn Mower
Ready or not, the seasons are changing. Dropping temperatures and color-changing leaves usher in the colder months of the year. Taking some time now to do some basic maintenance can help save you time and frustration at the start of the next mowing season.
With all the wear and tear from continuous summer use, lawn mowers typically need maintenance at the end of the season to remain in good working condition for the long term. And while it may seem harmless to place your mower straight into the shed until next spring, choosing to neglect proper equipment winterizing not only doubles the work for next spring, it impedes the overall performance of your mower. If you do the work upfront, though, your equipment – whether it’s a walk-behind mower or riding mower – should be ready to go by the first cut next spring. The following storage tips apply to walk-behind mowers. For detailed instructions on riding mowers, see How to Store Your Troy-Bilt Riding Lawn Mower in the Off-Season.
Depending on your model, the instructions listed below may vary slightly. Always be sure to check your operator’s manual for detailed instructions.
Step 1 – Gather Needed Tools and Supplies
Most winterizing procedures listed below can be completed with a basic mechanic’s tool kit, but some steps may be much easier when utilizing the Siphon Pump, Blade Sharpening Kit, and Blade Removal Kit, found in the links in this article. Also, as some instructions below may apply only to some lawn mower models and types, always consult your operator’s manual for detailed instructions.
Step 2 – Pre-Prep – Check and Replace Spark Plugs
Be sure the mower is on a flat, level surface. Turn the engine off and make sure it is cool. Disconnect the spark plug ignition wire. Replace worn or damaged spark plugs. Check the old spark plug or your operator’s manual for the correct part number.
Step 3 – Change the Oil
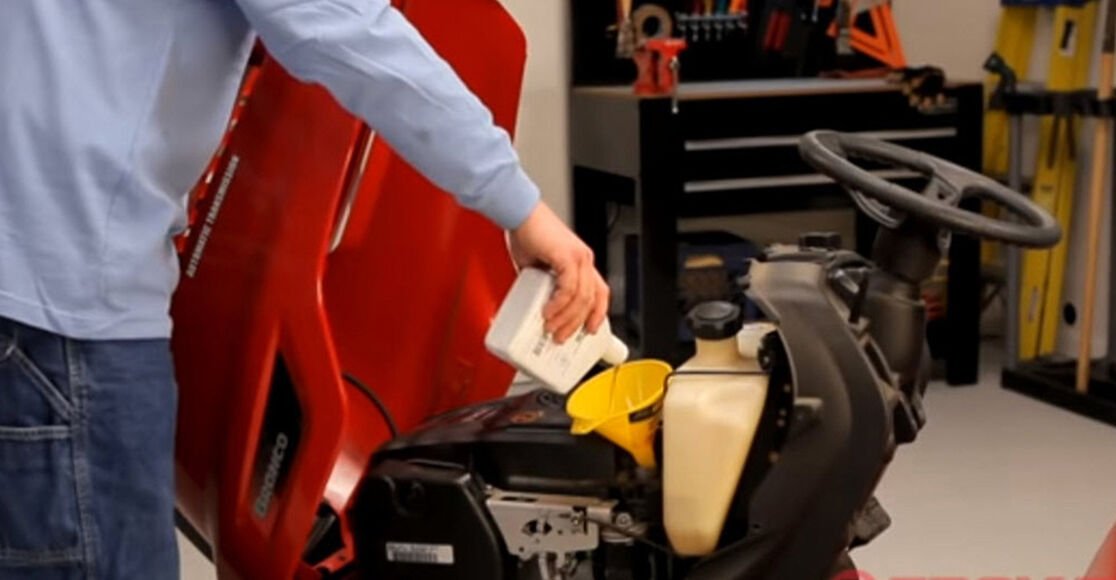
Remove the dipstick. Then using a siphon pump, place the top tube into the dipstick hole on the engine, and the bottom tube into the oil pan. Prime the pump by pumping the handle three to four times. Once the oil begins to flow, it will flow without further pumping. When the oil has drained, remove the siphon pump. Add new oil as instructed in your operator’s manual. Replace the dipstick. Wait several minutes, then use the dipstick to check the oil level.
Step 4 – Replace and Clean the Air Filter
Release the tabs to remove the air filter cover and remove the old filter. Replace with a new filter. Replace the cover and secure it to the mower.
Step 5 – Clean and Inspect the Mower. Replace the Mower Blade.
Give your lawn mower a good, thorough cleaning. Brush off leaves, grass, dirt and mud from the outside to avoid buildup and molding over the winter. Also, remember to check under the deck of your mower for hidden accumulation and use the deck wash port for any necessary removal. If not cleaned, debris beneath the deck can lead to an overheated engine, which can trigger corrosion and rust if it’s not cleaned properly and quickly.
To clean the undercarriage, tilt the mower on its side with the air filter facing up. Clean the undercarriage of dirt, grass clippings and other objects that may be lodged there. Wearing gloves for protection, inspect your blade for wear or damage. Use the Blade Removal Tool to hold the blade in place. Then, using a socket, loosen the bolt securing the cutting blade to the engine drive shaft. Remove the blade. Assemble the new blade and blade adaptor on the engine crankshaft, and tighten the bolt to the proper torque as indicated in your operator’s manual. If your blade only needs sharpening, use the Blade Sharpener and Balancer Kit. Remove the Blade Removal tool.
Step 6 – Check the Mower for Any Other Broken, Worn or Missing Parts
Check the mower for any other broken or worn parts, including the belt cover, belts, discharge chute, bag, mulch plug and tires. Replace any of these worn or broken parts with the correct replacement parts as noted in your operator’s manual.
Step 7 - Prepare the Fuel Tank, Engine and Mower for Storage
Prevent Rust
Rust on the lawn mower will obstruct operation and lead to long-term structural and performance issues. For prevention, use a light oil or silicone to coat the equipment, especially cables and all moving parts of your mower before storage. This will ensure a fresh cut come spring.
Service the Battery
For optimum use, it’s recommended to store lawn mower batteries with a full charge. If you store a discharged battery for a few months, the battery’s life will be reduced and capacity will decrease. For optimal life, charge it once per month while in storage during the off-season.
Engine Care
Is your mower going to be stored for at least 30-90 days this winter? If so, you will need to fill the tank with fuel and treat it with a gasoline stabilizer, such as STA-BIL®, to prevent deterioration. A full fuel tank helps prevent moisture, rust and carburetor clogging. Use a stiff bristle brush and rag to clean the engine exterior to allow proper air circulation while it is in storage. Also remove all grass, dirt and combustible debris from the muffler area to ensure your machine is safe to use on the first day of spring.
With the mowing season coming to a close, you might be tempted to simply put your mower away after the last use and not think about it for a few months. However, keeping it maintained now will help to keep your mower in its best condition so that it will run smoothly next spring.

